Why have I waited so long for a
tailor's ham? It's one of those things you wish you had when battling
to iron a tricky curve. Once the problem is edged around and somehow
overcome you forget about until next time.
As of today I'm no longer hamless. If
I'd known it would be so easy to make I might have made one years
ago.
If you too have been procrastinating
about the acquisition of a ham, then I hope these simple instructions
will get you hamming it up in no time.
You will need:
Tracing paper
Calico
Pure wool flannel
Sawdust
A wide mouthed funnel
A wooden spoon

Sketch the shape of your ham on the tissue paper (or light card) making the longest measurement about 11 inches (28 cm) and the widest about 9 inches (23 cm) which includes a seam allowance of 3/8 inch (1 cm). Fold pattern in half and cut it out which will ensure an even shape.
Open the pattern out and cut out in
calico and in wool.

Pin the two pieces together and stitch with a short stitch length on your machine leaving a small opening at the narrow end for the stuffing process. I found it helpful to fit my funnel neatly into the opening so it doesn't move around when stuffing.
Stitch again over the top of the first
stitching, making sure to do a few reverse stitches to firm up the
sides of the opening, because it will be under pressure as you stuff.
Turn through to the right side.

Press the seam allowance under at the opening and tack. Don't neglect this step as it makes the final hand stitching of the opening easy.

Pet shops usually keep a supply of sawdust or fine wood shavings. I bought this pack of compressed shavings, 1 kg, for AU$7. I used not quite half the pack to stuff the ham very tightly.

Now for the stuffing process. It's a messy business so work on a sweepable surface. Use the handle end of a wooden spoon to pack the sawdust in firmly.

When it's a bit more than half full, work on pushing the filling into the rounded corners to get the wrinkles out.

Keep stuffing and packing, the finished
ham must be rock hard.

When you've got as much as possible in with the funnel and wooden spoon start pushing it in with your fingers.
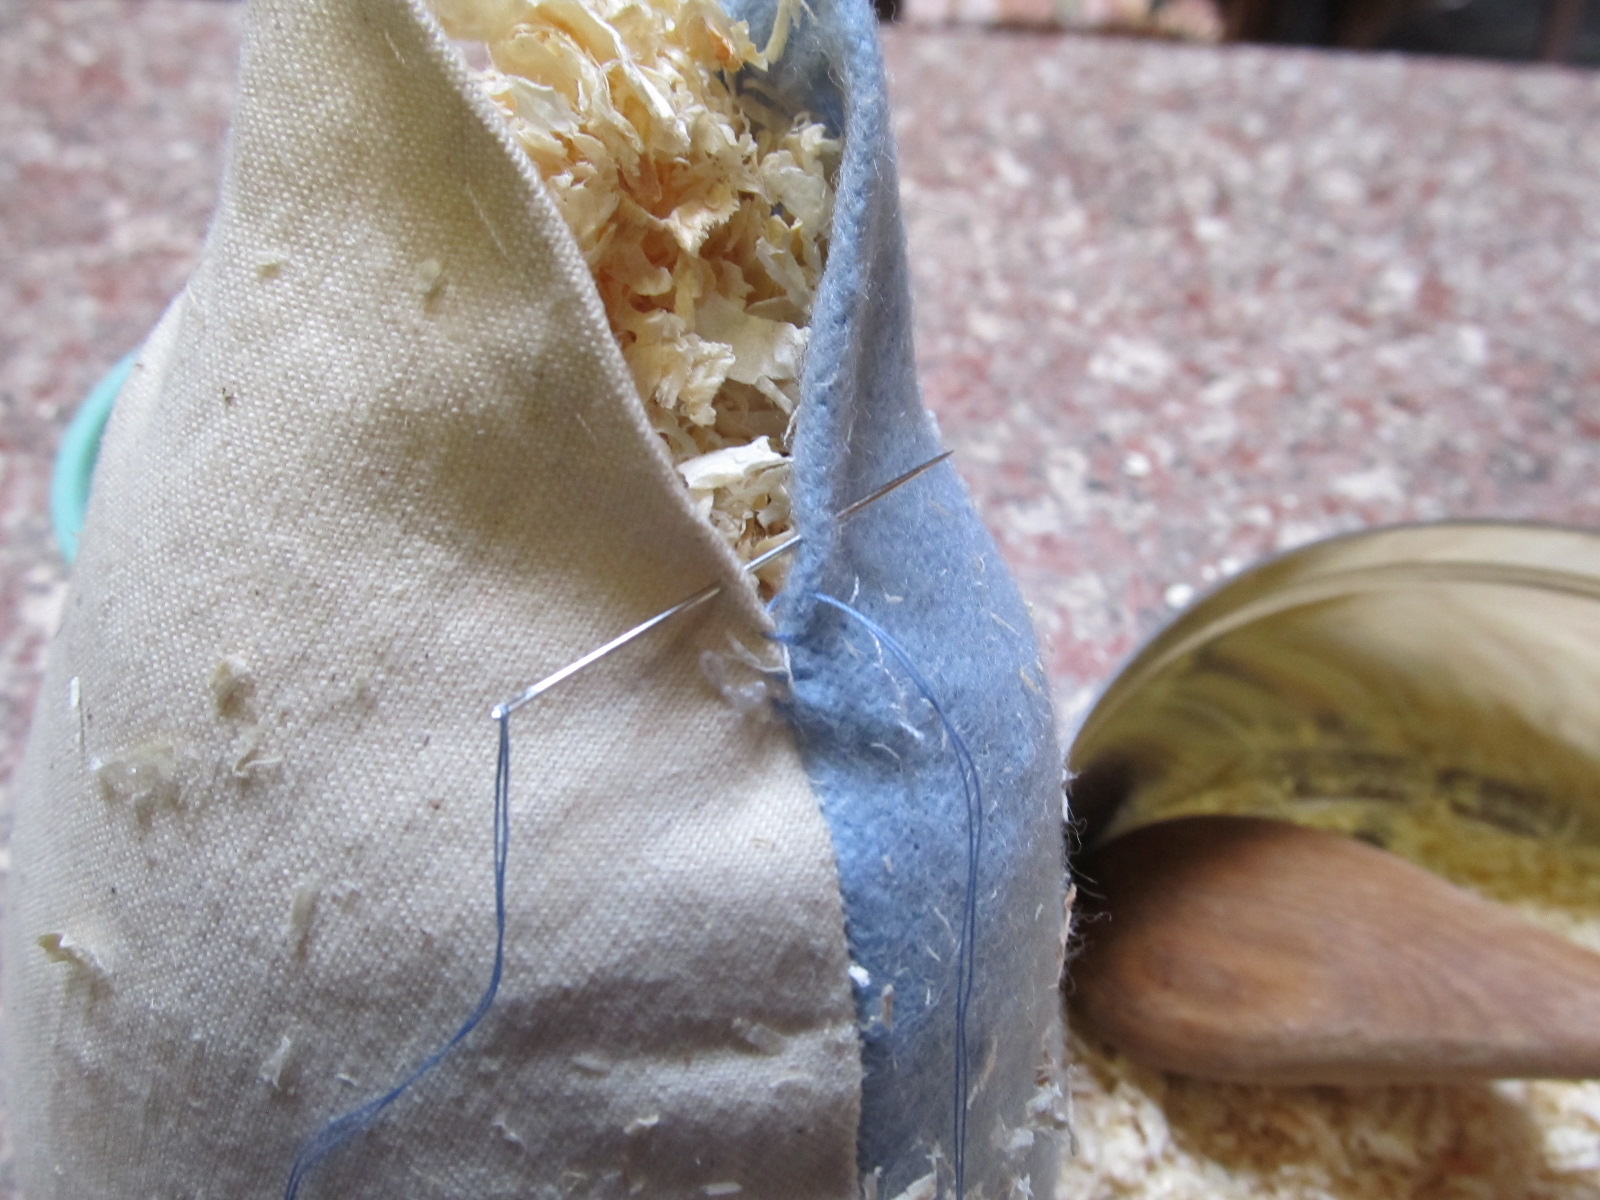
Thread up a needle with stout cotton doubled and knotted. Start stitching up the opening, adding little bits of stuffing as you go.


When no more stuffing can be fitted in,
finish stitching the opening and backstitch firmly to secure. Remove
tacking stitches.

Congratulations! You are now the proud
owner of a tailor's ham.
No comments:
Post a Comment